Chenille for Dummies – Fake Chenille with Cord/Loop Device
Fake Chenille with Cord/Loop Device
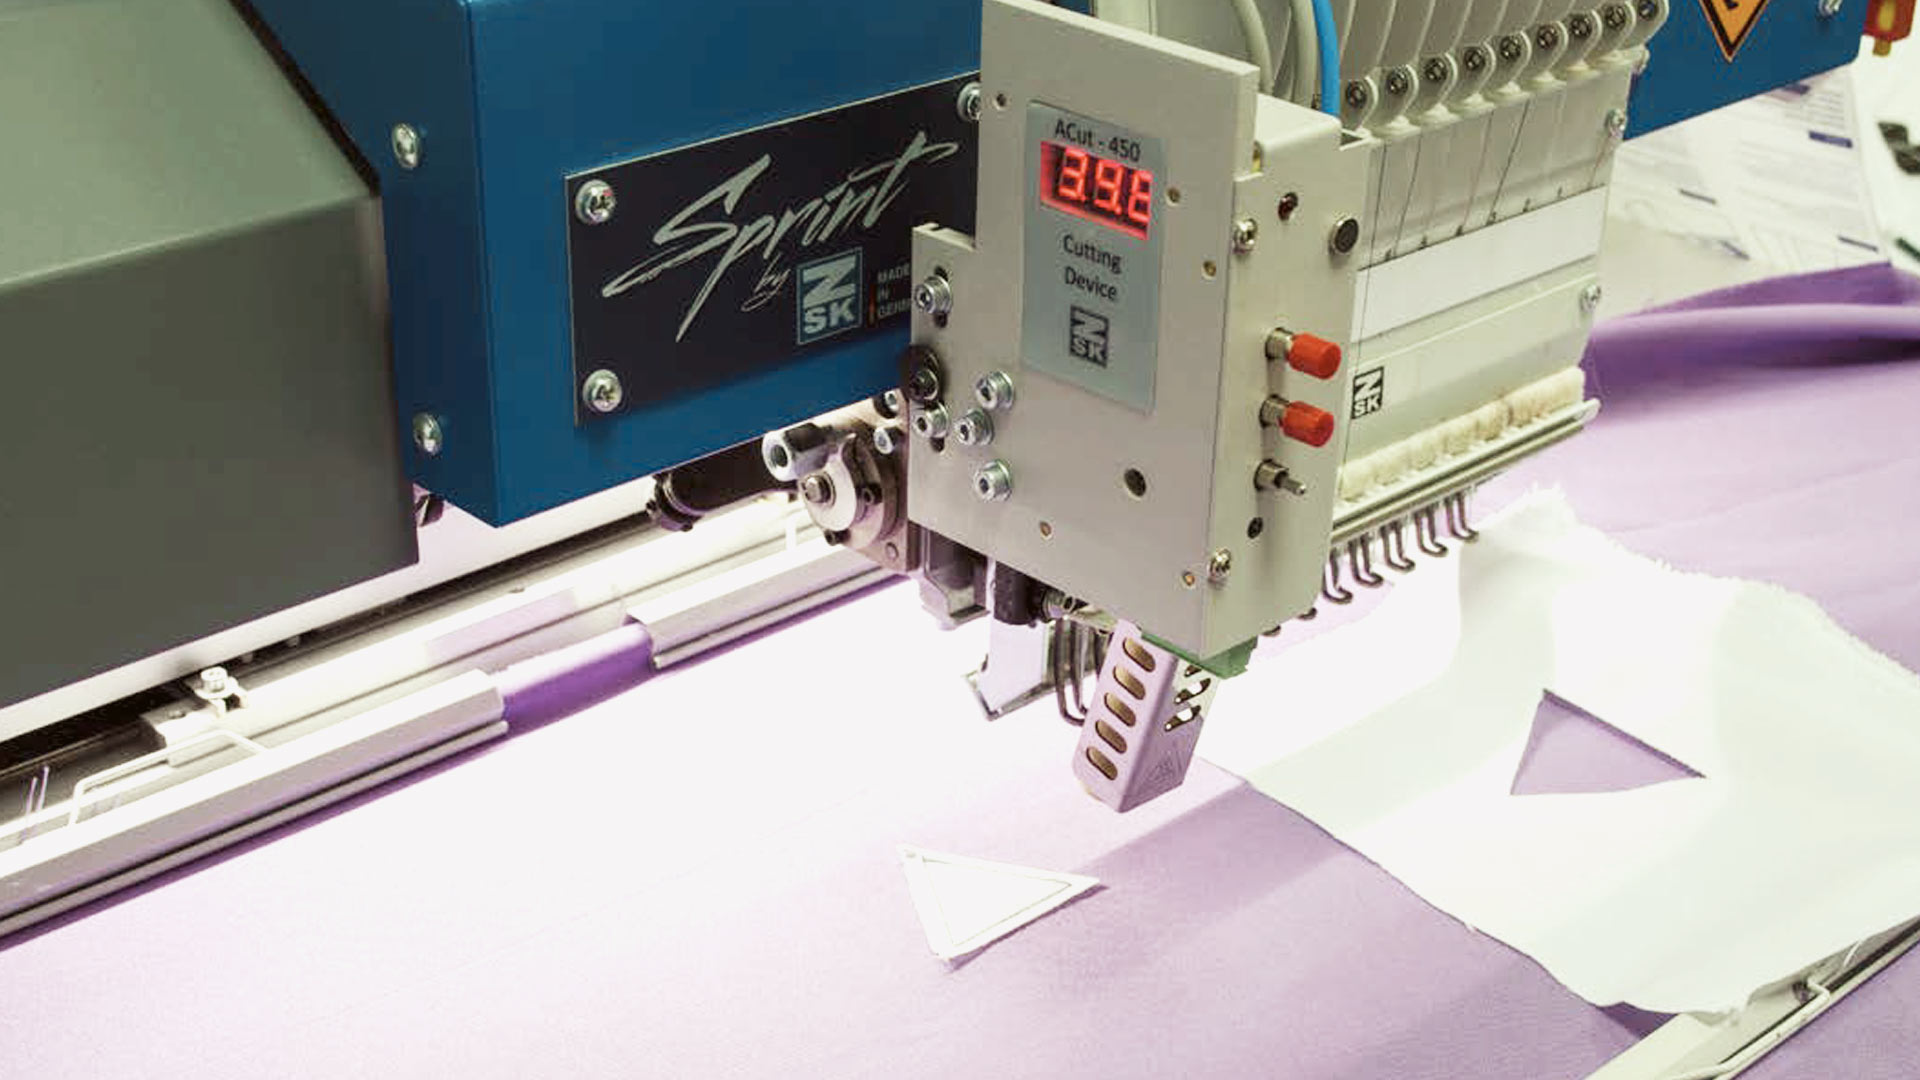
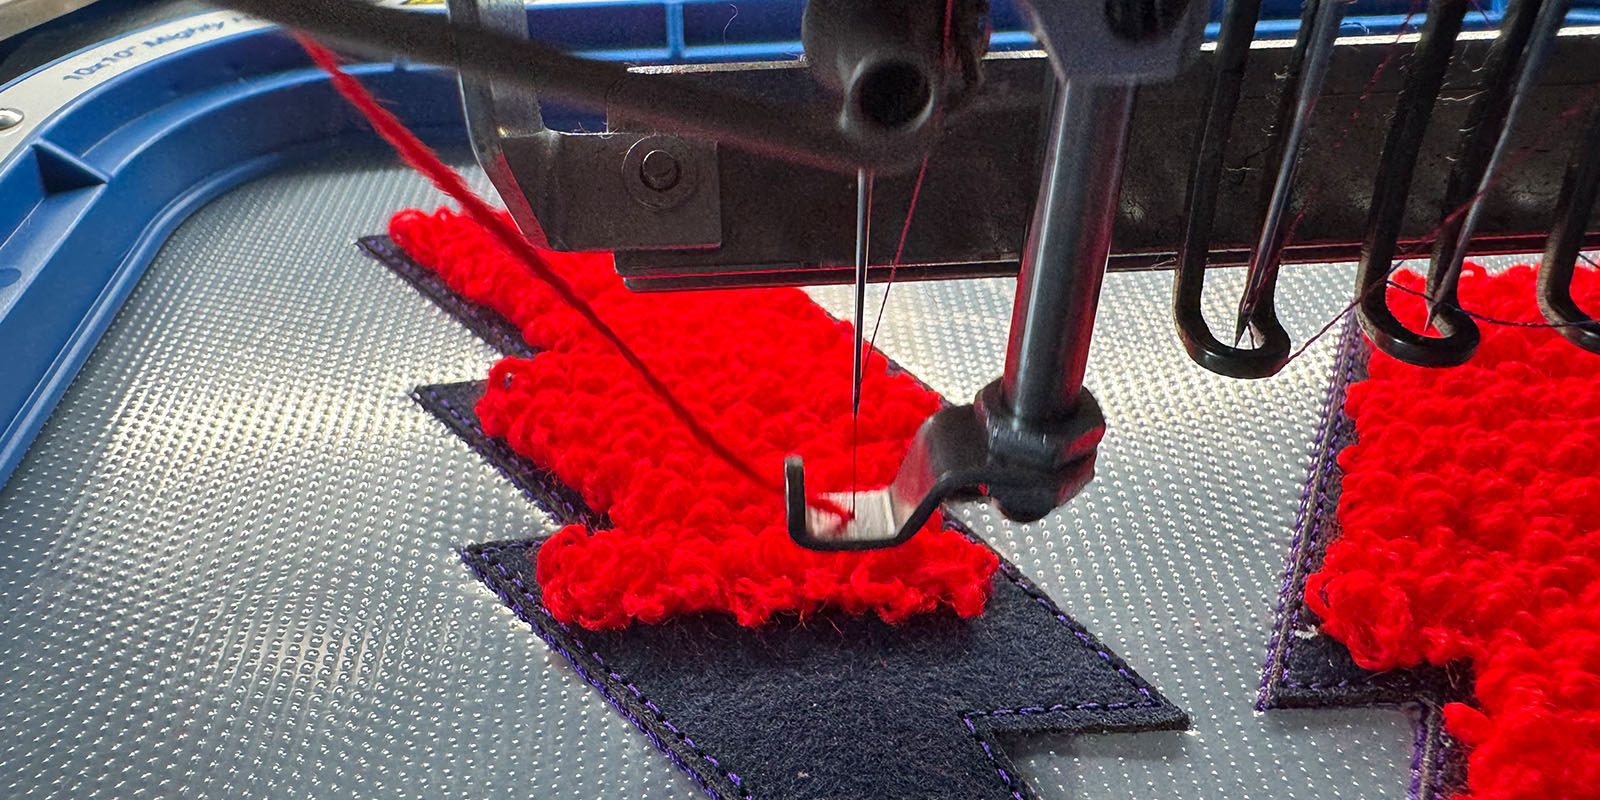
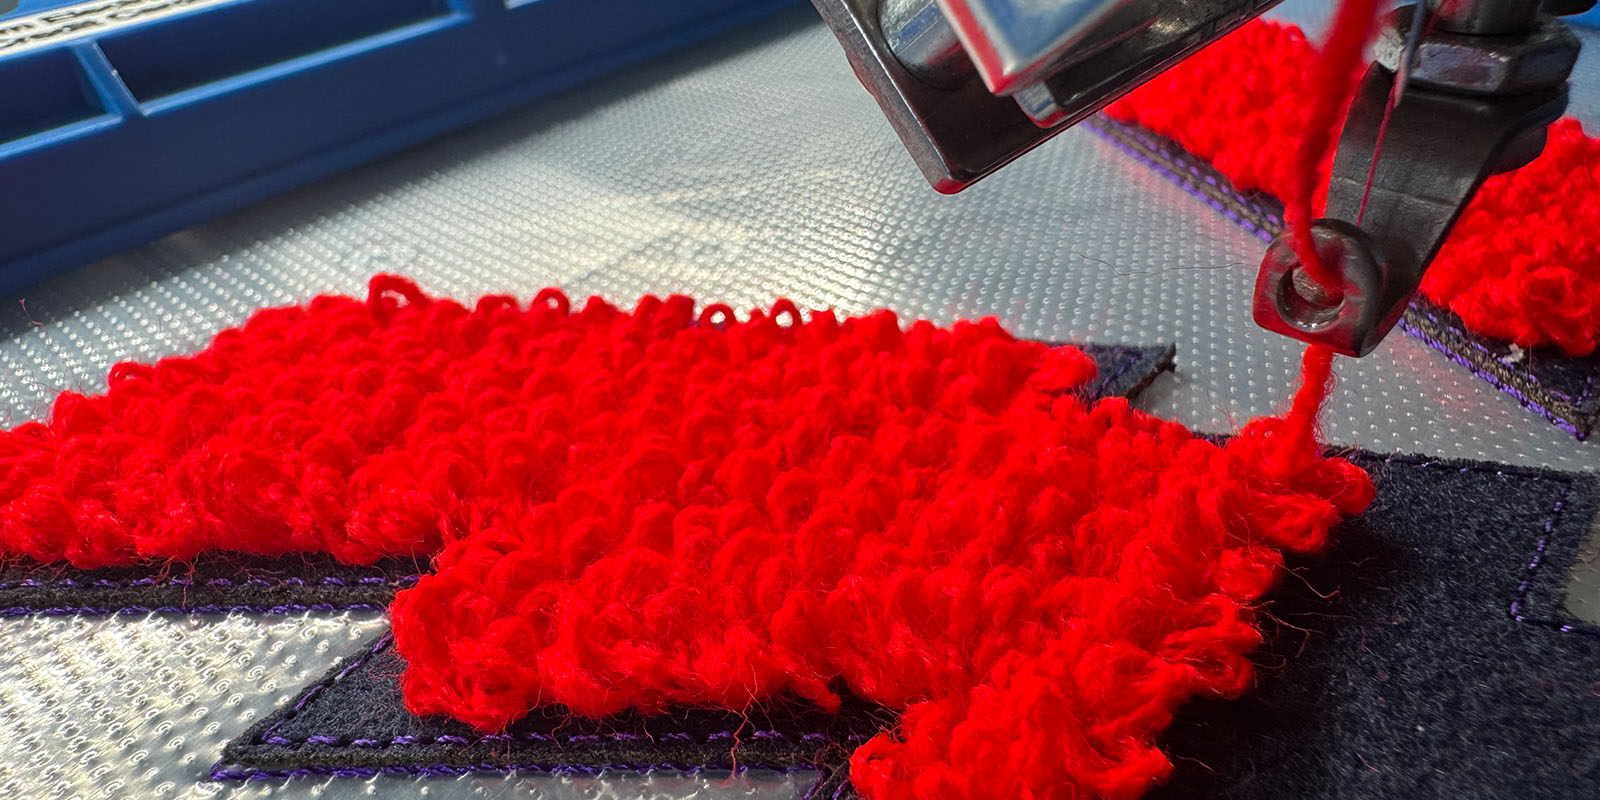
My absolute favorite - this technique comes closest to real chenille without needing a dedicated chenille machine. The cord/loop attachment is mounted on one of the outermost needles of your ZSK embroidery machine and feeds a thick, fluffy cord that’s secured with the neighbored needle.
The best part: With this attachment, you can also expand your product portfolio to include intricate cord embroidery!
What You’ll need
- Standard ZSK embroidery machine (My top pick for this is our Sprint 7L - comes with extra embroidery field for tubular and border frame operation!).
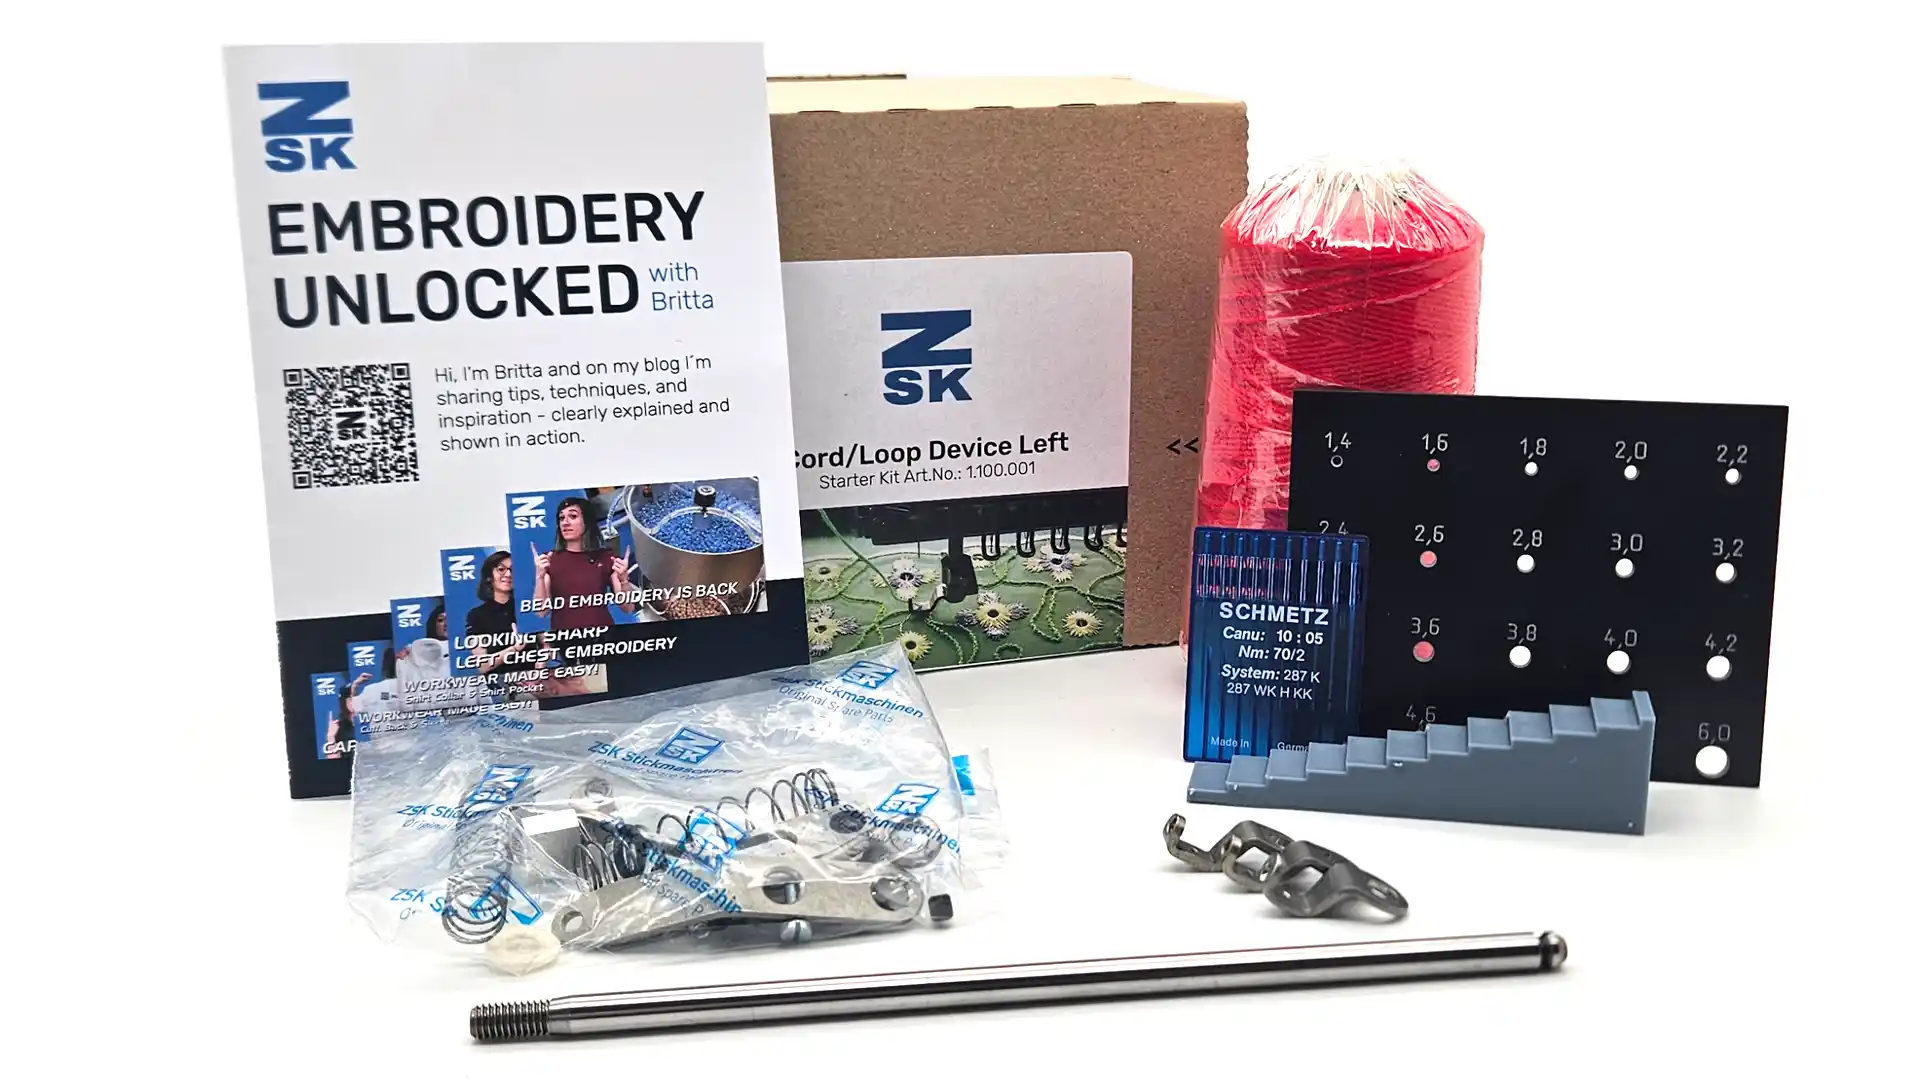
- Starter kit for cord/loop attachment
Included in the starter kit
- Cord/loop attachment (available for left or right side)
- Installation materials
- Measuring plate for cord diameter
- Different foot sizes for various cord diameters (1.1, 1.3, and 1.5)
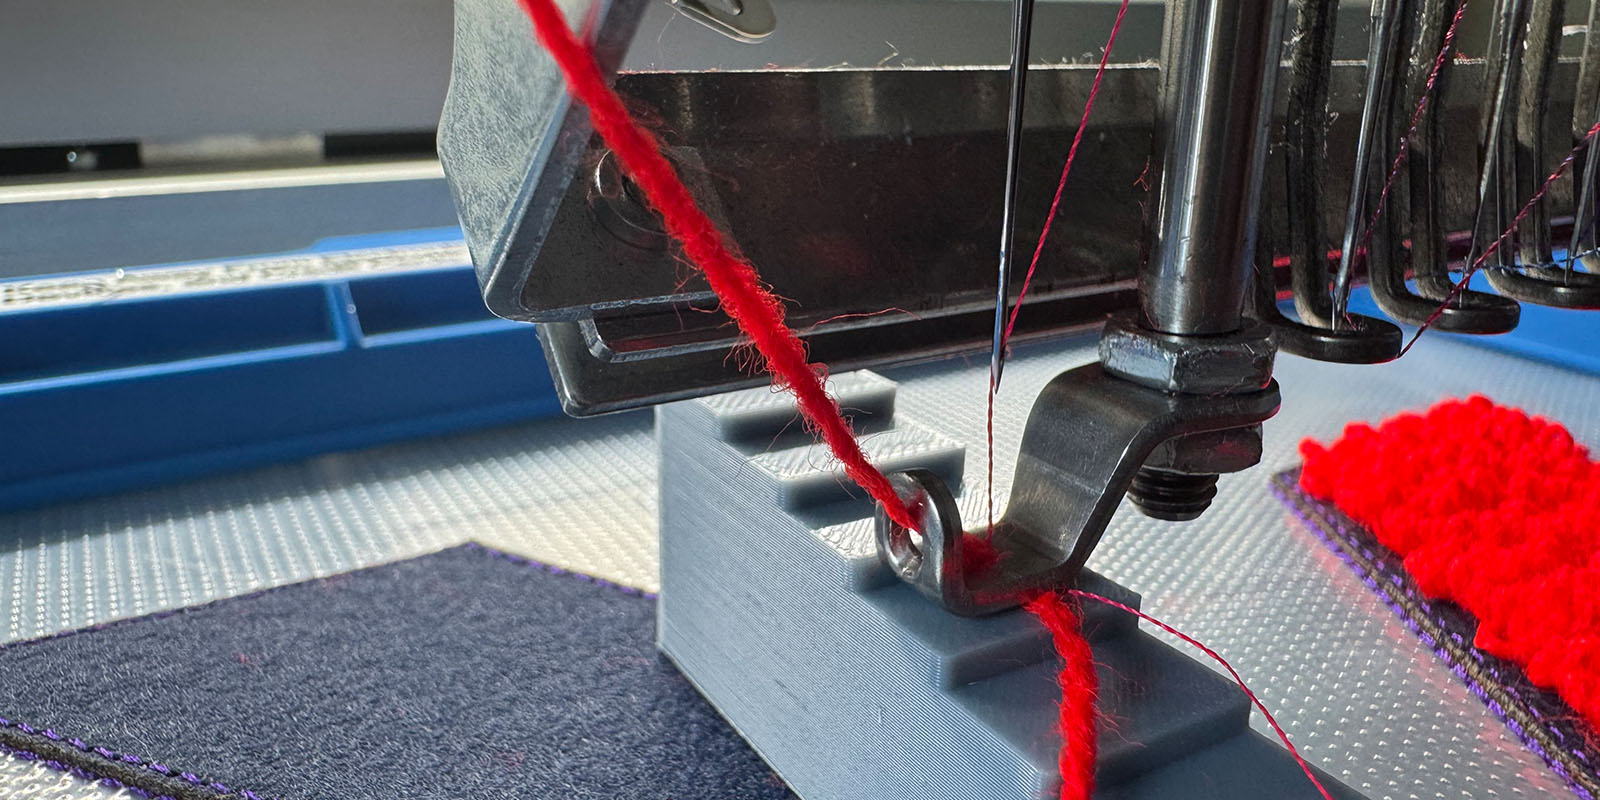
- Step gauge for consistent loop height
- Needles (Schmetz Nm70/2 287K, H KK)
How to Achieve the Perfect Result with the Cord/Loop Attachment
1. Test different heights!
Simply loosen the screw with a screwdriver and adjust the loop foot height manually! Use the step gauge to hold it in place while you retighten the screw (see video!).
Tip: Mark your favorite heights with a felt-tip pen on the gauge – this keeps your production consistent!
2. Choose the matching foot for your cord!
Make sure the hole in the foot matches the diameter of your cord! The cord should pass smoothly through the hole together with the needle and thread. Use the measuring gauge included in the starter kit.
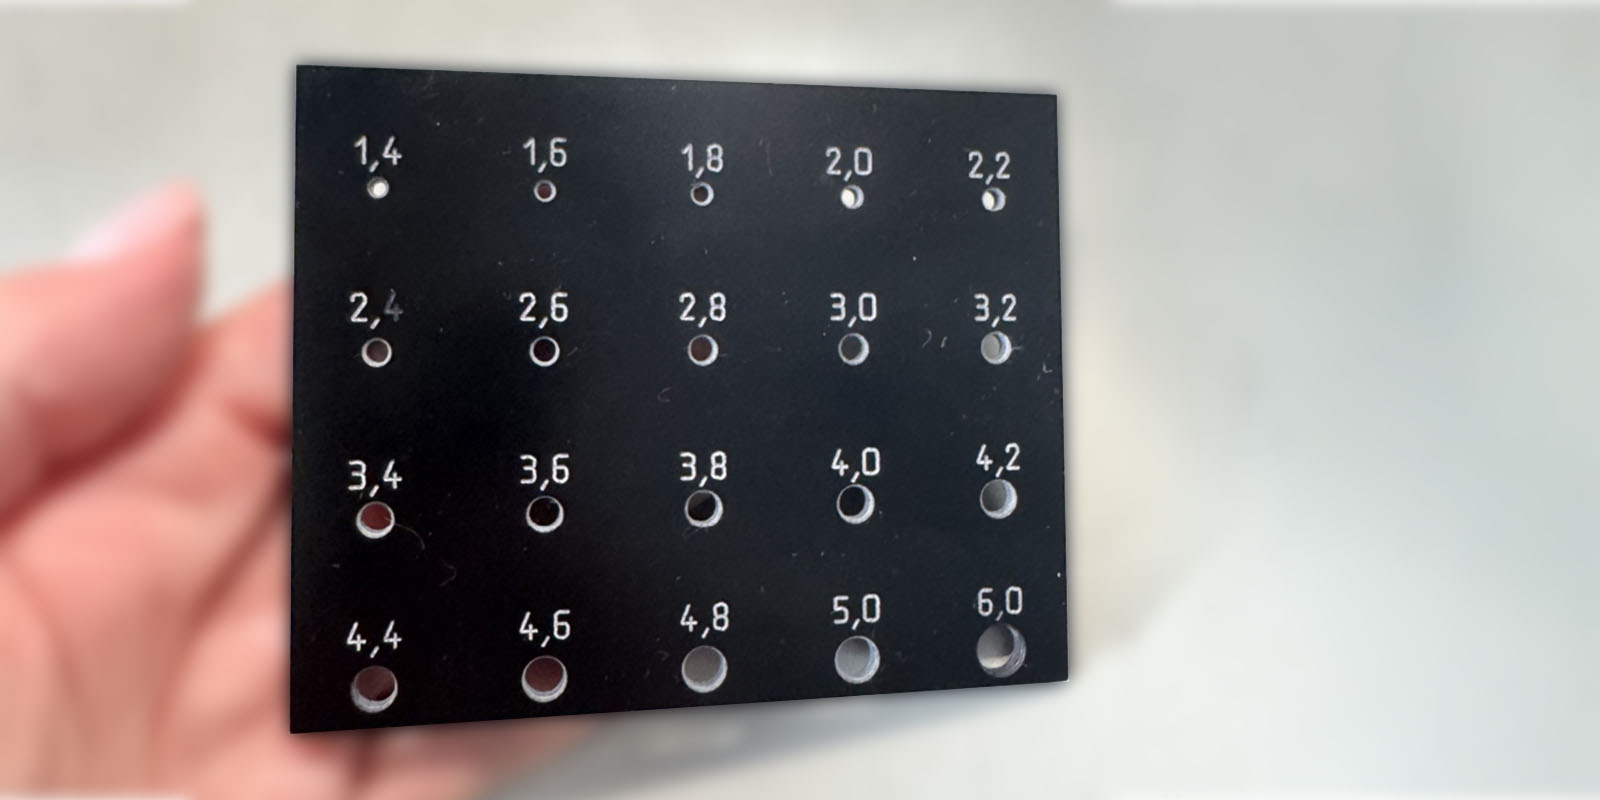
No loops? The foot is probably too large or the thread tension is too high! Thread break or cord tearing? The foot might be too small!
3. Foot alignment
Make sure the needle is always centered in the hole – otherwise the needle might hit the foot or the embroidery quality may suffer! In the worst case, the needle hits the foot and breaks.
4. Threading the cord
Ensure the cord runs smoothly through all guides – otherwise it may break or does not form loops! The fluffier and straighter the cord feeds, the better the results!
5. The right embroidery file
Large areas are created with a simple fill stitch. Just make sure to set the correct density (approx. 20–25) and stitch length (approx. 2–3 mm). The longer the stitches and the lower the density, the fewer loops you'll get!
Form Classic Cord Patterns with the Cord/Loop Attachment
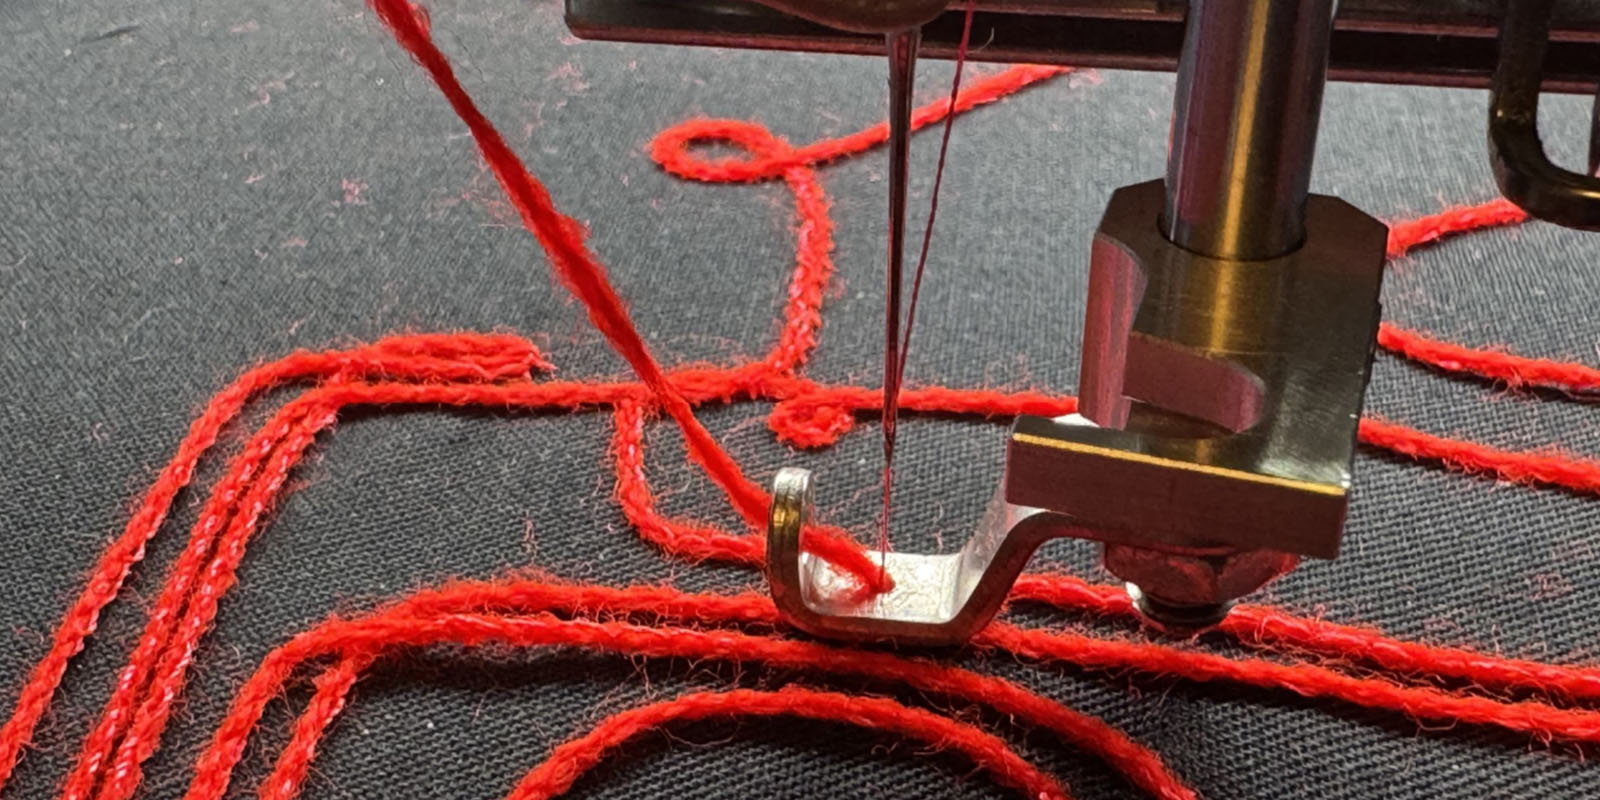
Want to create traditional cord embroidery as well? Just loosen the screw on the block – the foot will drop to the zero position. Rotate the block 90° forward and tighten the screw again (do not reattach it to the needle bar!). The embroidery design consists of a simple running stitch that moves forward evenly.
Why I Love This Technique
It's the best imitation of real chenille with minimal investment.
Bonus: The back is secure, since it uses a regular lock stitch and not a single-thread like traditional chenille.
Why You Should Start with Chenille Embroidery
- Stand out from the crowd – if you start now, you’ll be ahead of the competition!
- Expand your product range and tap into new markets with minimal risk.
- Give your embroidery a luxurious feel that your customers will notice instantly.
No matter your budget, skill level, or space – dive into chenille embroidery and offer your customers premium products! What are you waiting for? It’s time to add a little fluff to your designs!

