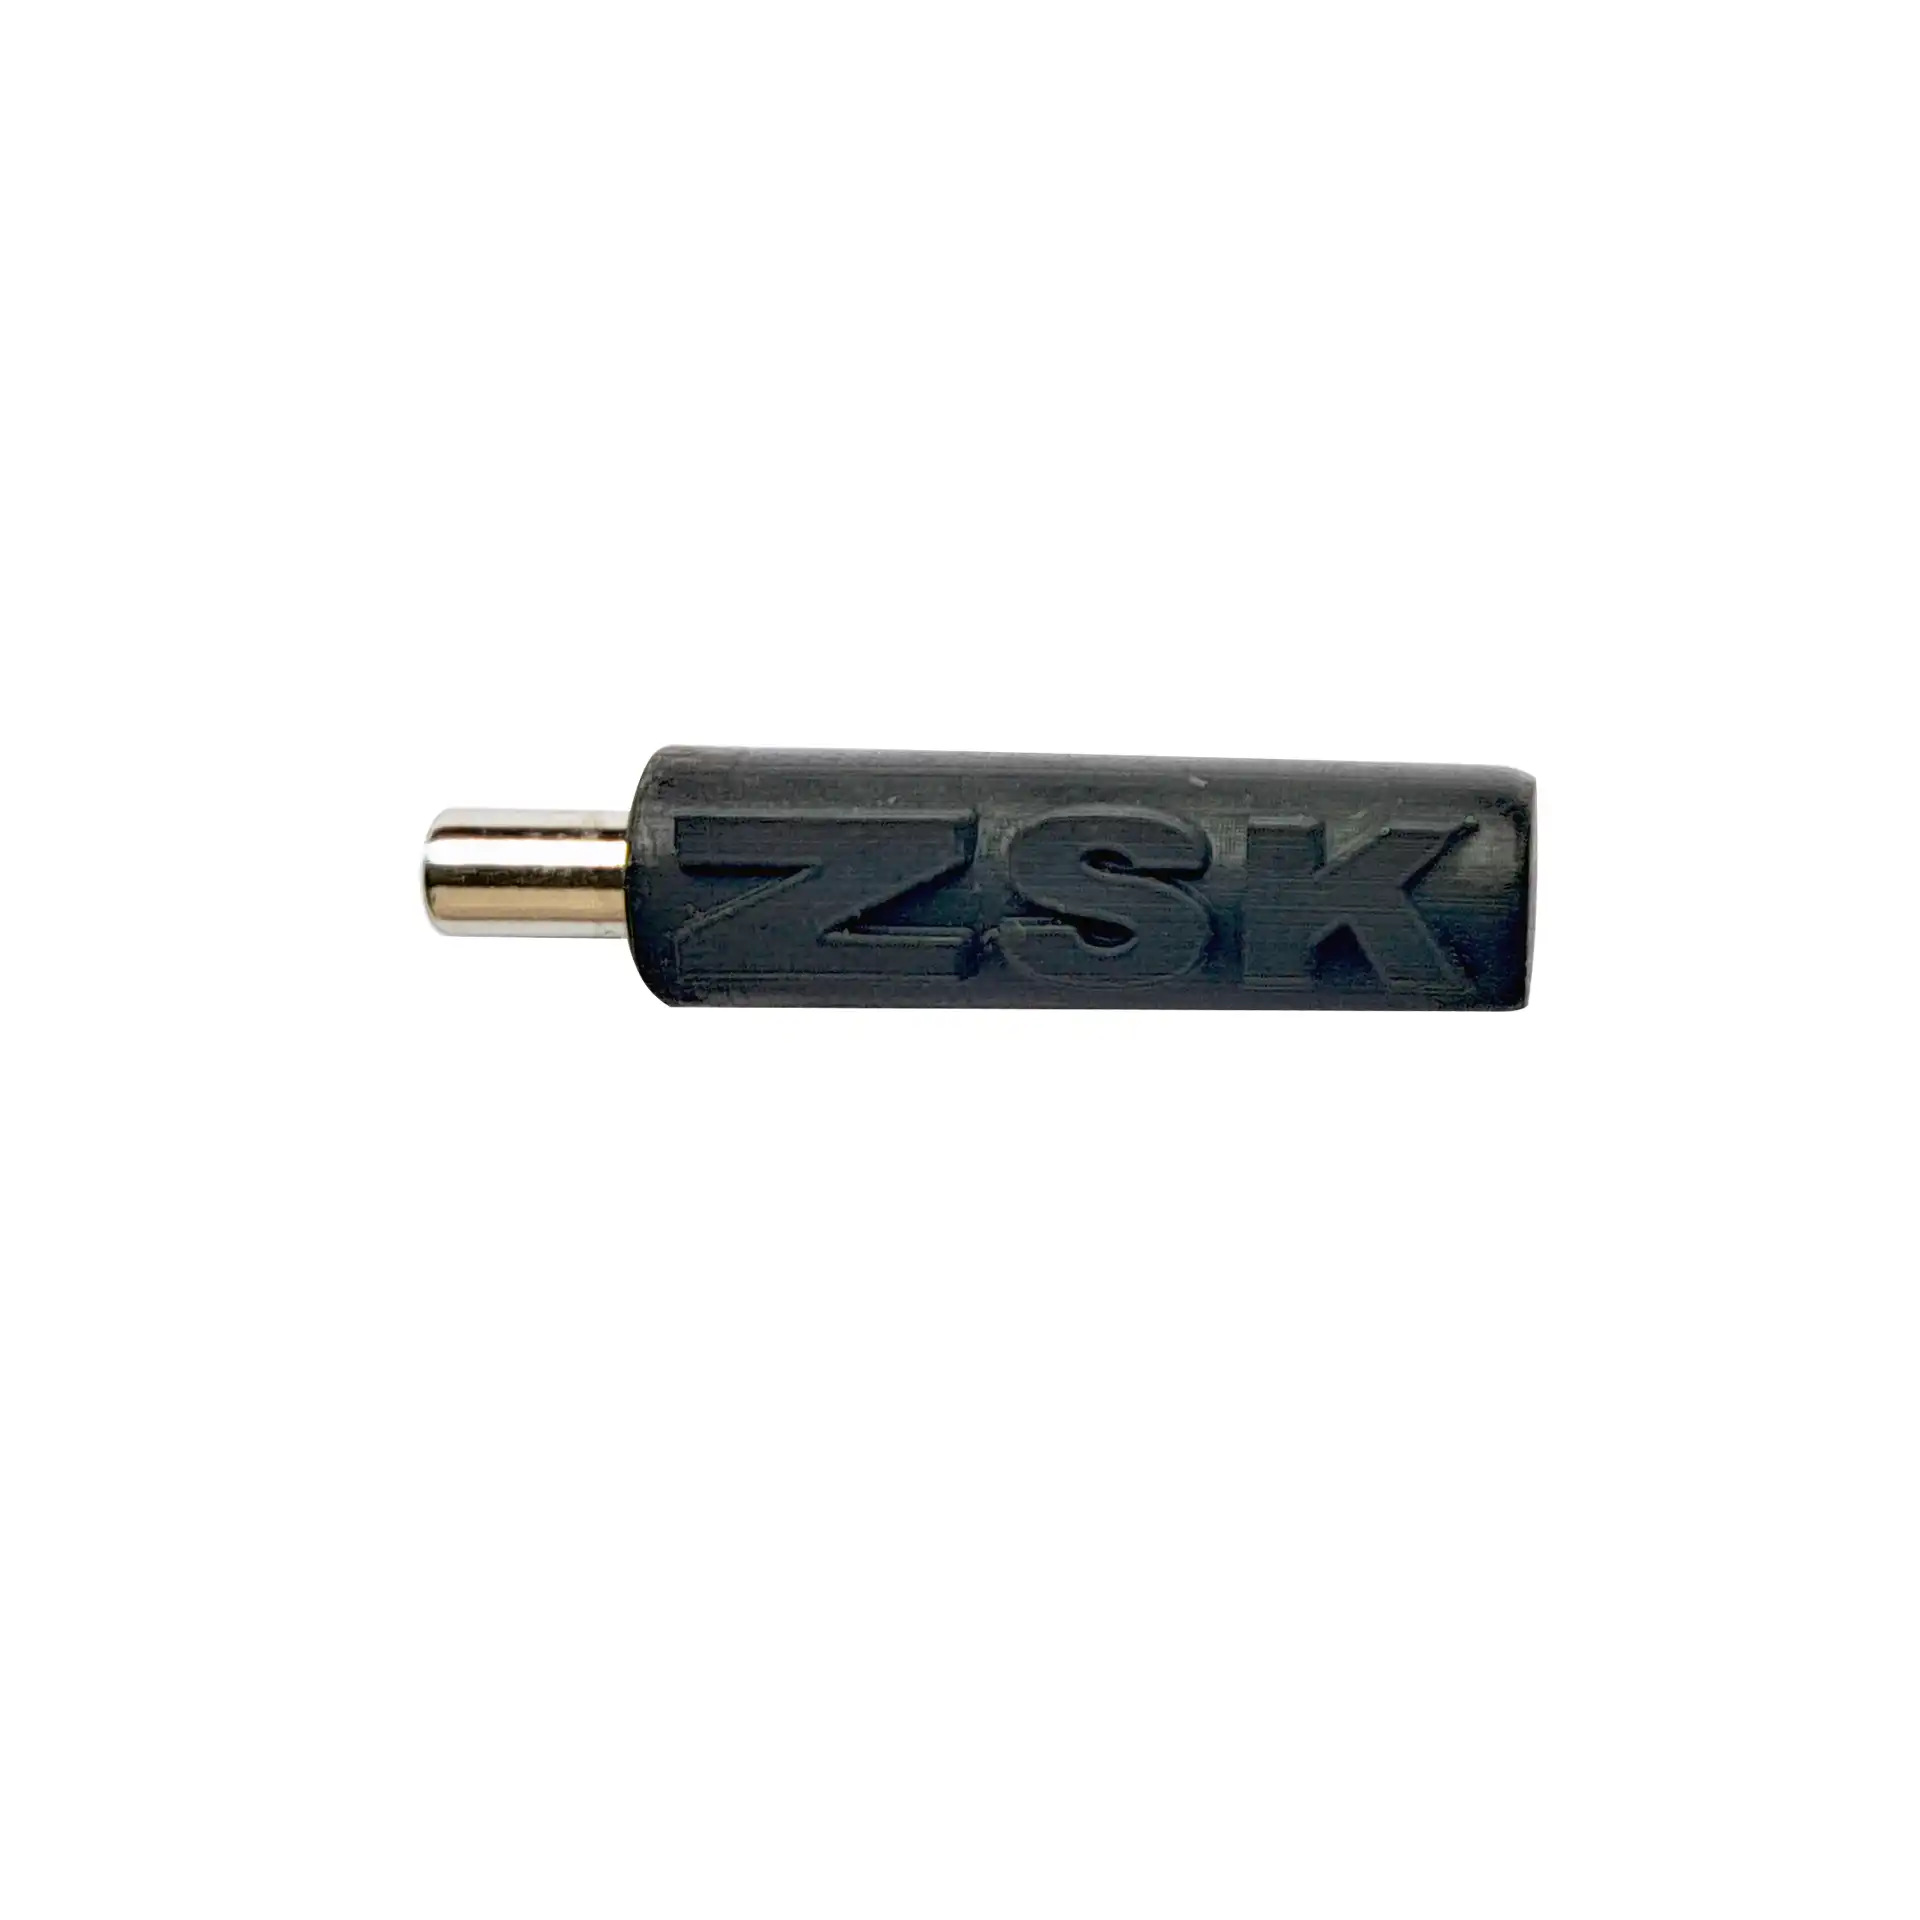

Needle Angle Gauge
3D Printing
Print Your Own Angle Gauge
Short Description
The setting gauge, or needle angle gauge, supports the controlled and reproducible insertion of embroidery needles. It provides fixed angle markings for 0°, 10° and 15° and helps make adjustments to the needle angle easy to understand and reproduce.
Print it yourself or buy it ready-made:
The setting gauge is also available as a ready-printed version in the ZSK online shop. Orders are placed through a customer account for commercial users. This allows you to use the gauge straight away, without your own printing time or material effort.
The Problem
The position of the embroidery needle can influence the thread path, the embroidery result and process reliability. If a needle is inserted with uncontrolled rotation, later adjustments can be difficult to trace or reproduce.
Especially in cases of thread fraying or thread breaks, it can be useful to slightly change the needle angle. Without an orientation aid, however, such an adjustment often remains imprecise.
The Solution
The setting gauge makes different needle angles easy to understand and reproduce. As a starting point, we recommend inserting the embroidery needle in the 0° position first. The needle should only be turned slightly if the thread starts to fray or thread breaks occur.
With the 10° and 15° markings, such adjustments can be made in a targeted and reproducible way. In combination with the Needle Alignment Magnet, the position of the needle eye can also be checked quickly.
Project Data
- Category: 3D printing
- Difficulty level: Easy
- Angle markings: 0°, 10° and 15°
- Material: PLA
- File format: STL file in ZIP download
Download
Download the STL file as a ZIP file and produce the setting gauge with your own 3D printer.
Required Materials
- PLA filament
- 3D printer
- STL file from the ZIP download
Printing Notes
The STL file can be processed using the standard profiles of most slicers. PLA filament is recommended for this project. Ensure good print quality so that the angle markings remain clearly visible.
Use
- Print the setting gauge.
- Insert the embroidery needle in the 0° position first.
- If required, check the position of the needle with the gauge.
- Only turn the needle slightly if the thread starts to fray or thread breaks occur.
- Use the 10° or 15° marking to make adjustments to the needle angle reproducible.
Notes
The setting gauge serves as a practical orientation aid when inserting and adjusting embroidery needles. It does not replace machine-specific service instructions, but supports consistent and traceable needle setting in day-to-day work.
Licence
The STL file may be used for private and in-house business purposes. Redistribution, modification followed by publication, or commercial marketing of the file is not permitted.
Related products from our shop
Product number 2: O-000-0698

Product number 2: Z-009-3181